
** Warning: Long, photo-heavy post alert!! :) **
When we moved into this house in December 2012 there wasn't much to do thankfully. However, we did re-paint everywhere. Everywhere that is apart from our guest bedroom.
There were still unpacked boxes and junk that we needed to sort through and give away to charity and, after decorating the rest of the house, we just wanted a break for a while.
Then the niggles started. Every time I would walk past this room the old lilac walls and unpainted wooden wardrobe left by the previous owner would leave me with a sinking feeling. It was time to do something about it! So one wet weekend we went down to the DIY shop to buy paint, primer and frog tape.
I knew I wanted a Hamptons/New England style for the decor and really wanted to give stripes a go. Here are some inspiration photos I found on Pinterest...


Now I had some inspiration I wanted to get started straight away so I Googled 'how to paint stripes' and went from there. With loads of tutorials and blog posts to choose from I took the best bits from each. I measured the height of the walls I wanted to paint the stripes on, divided the height equally by nine to get the number of stripes, rounded up the results to the nearest whole centimeter and added the leftovers to the bottom stripe. This means your bottom stripe will be wider than the rest but nobody will notice and, as we were putting furniture up against both striped walls, even I would be able to let this go!
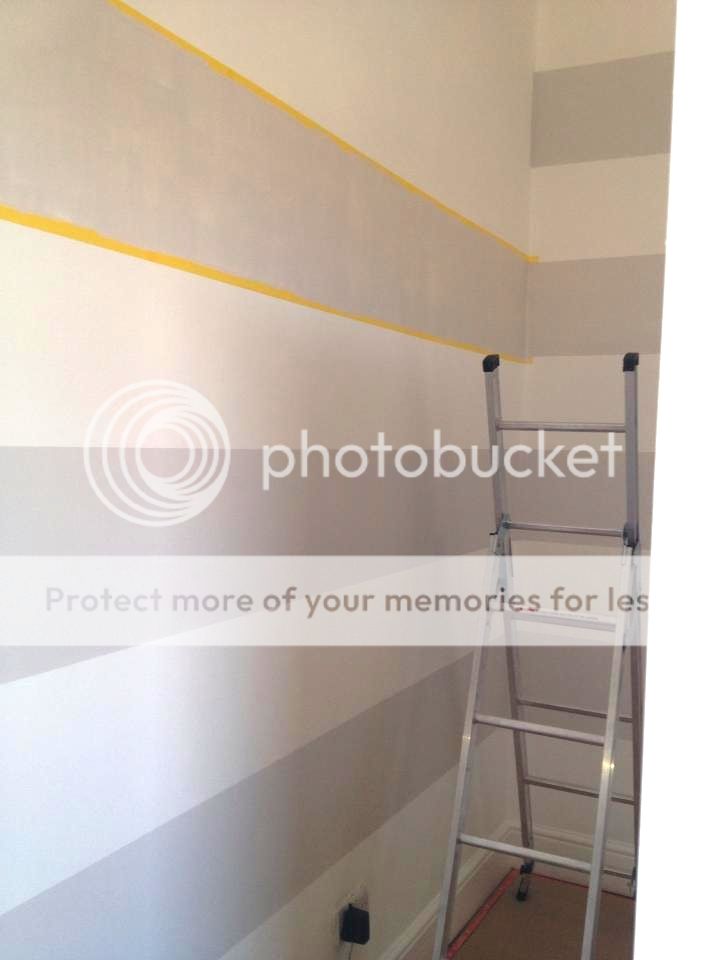
Another great tip is to stick short pieces of tape inside each alternate stripe to make sure you're painting the right one (as shown in the photo below). I know this sounds obvious but when you've been at it for hours, frog tape blindness starts to kick in! Here's the journey..


We knew we wanted a day bed in the room. Partly so we had a double bed if we had guests to stay and so it could be folded away when the guests left and partly because they offer great storage. After much searching we bought the IKEA Hemnes Day Bed. We already have the Hemnes range in our master bedroom so we knew it was great quality and we're really pleased with it.

We also primed and painted the solid wooden wardrobe that the previous owner had left. The black, metal fixings work fantastically with the pewter drawer handles on the day bed and, again, this offers much needed storage.

You can just about see in one of the photos above that we have added a few simple white frames to the walls. We still have a few to put up but we're keeping the coastal theme going here too by hanging old holiday photos from my husbands' parents and shots we took on our honeymoon in Cape Cod.
The last thing to do is to style the floating shelves we have had put up. So far I have the little succulent plants below, which I love, but they're looking a little lonely.
I feel a shelf styling inspiration post coming soon...

What do you think of our makeover? Would you try the Hamptons/Cape Code style in your house?
Katie xx
No comments:
Post a Comment